OBS
External Broadcasting Software
You are able to seamlessly stream in Free Chat and Private/Group/Club shows on MyFreeCams using an RTMP External Broadcaster such as OBS, SplitCam, XSplit, Ecamm Live, Wirecast, ManyCam, etc.
Configuration

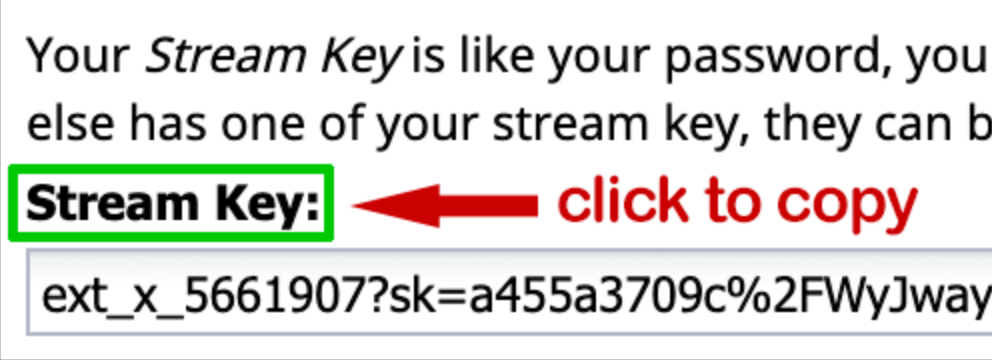

- Download and install OBS from https://obsproject.com
- If using a Mac, click and then About This Mac. If Chip contains Apple M(number) then download the macOS (Apple Silicon) version of OBS.
- Do NOT run the Auto-Configuration Wizard (click Cancel)
- In the Model Web Broadcaster (ModelWeb) click Options in the bottom-left corner
- Select External Broadcaster and click Stream Key & URL
- Click on Stream Key to copy the Stream Key to the clipboard
- Launch OBS. Click Settings and select the Stream tab
- Expand the Service selector, click on Show All and choose MyFreeCams
- Paste the Stream Key from the ModelWeb into the Stream Key box
- Do not change the Server unless experiencing issues
Remember to update OBS with your new Stream Key anytime your MFC password changes. The Stream Key is linked to your model account's password. If you change your password, or if Model Support resets your password for you for any reason, your Stream Key will automatically be regenerated as well.
A hard-wired Ethernet connection is STRONGLY recommended (rather than WiFi)
Settings
First time streaming with OBS? Choose the Software (x264) encoder, set the bitrate to 3000, and make sure your output resolution (in the Video Section) is 1280 x 720 (720p) with a frame rate of 30 FPS.
Output
Software Encoder
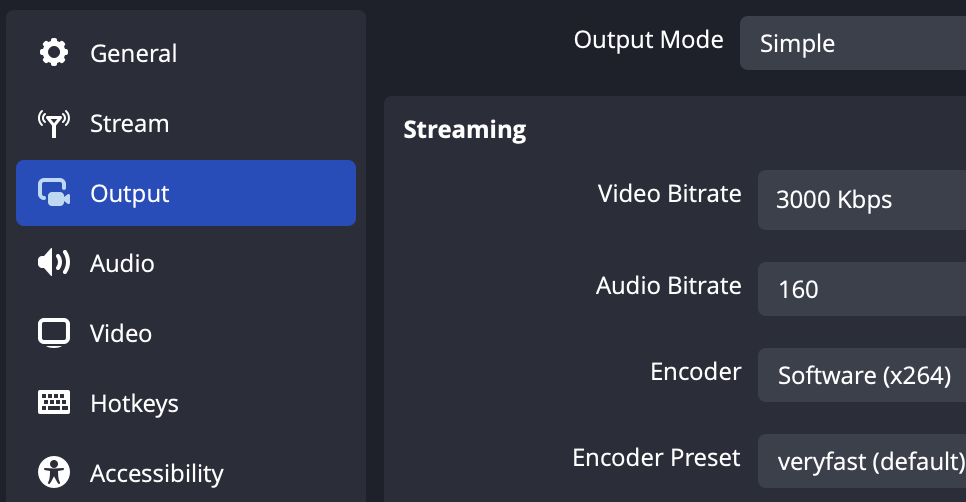
| Output Mode | Simple | ||
| Video Bitrate | 3000 (720p), 4500 (1080p)
| ||
| Audio Bitrate | 160 | ||
| Encoder | Software (x264) or Hardware (NVENC) | ||
| Encoder Preset | veryfast |
Hardware Encoders
Only attempt after successfully broadcasting using x264 with the above settings.
| Output Mode | Advanced | ||
| Encoder | NVIDIA NVENC H.264 (new) | ||
| Rate Control | CBR | ||
| Bitrate | 3000 (720p), 4500 (1080p)
| ||
| Keyframe Interval | 1 | ||
| Preset | Quality | ||
| Profile | high | ||
| Look-ahead | unchecked | ||
| Psycho Visual Tuning | checked | ||
| GPU | 0 | ||
| Max B-Frames | 2 |
We don't recommend using any other hardware encoder (AMD H264/AAC, Intel QSV H264, Apple Hardware VT) at this time.
Audio
Change Mic/Auxiliary Audio to your desired microphone. Avoid the built-in microphone. Opt for the one inside your webcam, unless you have an external microphone—such as the Blue Yeti. If using an external microphone, position it as close as possible to your mouth, and far away from speakers, fans, keyboards, or other sources of noise.
| Mic/Auxiliary Audio | Blue Yeti or Logitech BRIO (example) |
Video (HD 720p)
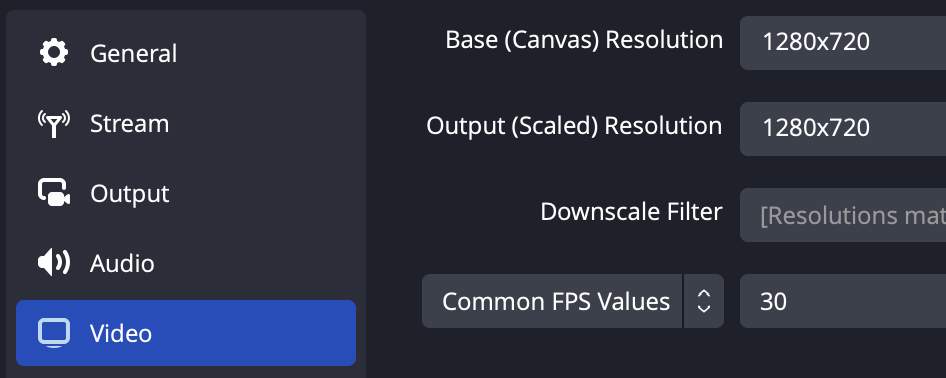
We recommend this setting for models with an upload speed of less than 12 Mbps to our North America (East Coast) location.
Check your connection speed at https://tests.myfreecams.com.
| HD 720p | |
| Base (Canvas) Resolution | 1280 x 720 |
| Output (Scaled) Resolution | 1280 x 720 |
| Downscale Filter | Bicubic (if using a larger canvas size) |
| Common FPS Values | 30 |
We strongly recommend setting FPS no higher than 30.
Video (HD+ 1080p)
Do not attempt 1080p unless you have successfully broadcast using the above HD 720p settings.
Requirements:
- a desktop computer, Apple Silicon MacBook (2021+), or high-end/gaming laptop with 6+ cores and a discrete NVIDIA/AMD GPU.
- a stable internet connection with 12+ Mbps upload speed to our North America (East Coast) location
- we strongly recommend using a wired (Ethernet) connection
Check your connection speed at https://tests.myfreecams.com.
| HD+ 1080p | |
| Base (Canvas) Resolution | 1920 x 1080 |
| Output (Scaled) Resolution | 1920 x 1080 |
| Downscale Filter | Bicubic (if using a larger canvas size) |
| Common FPS Values | 30 |
We strongly recommend setting FPS no higher than 30.
Add Webcam Source
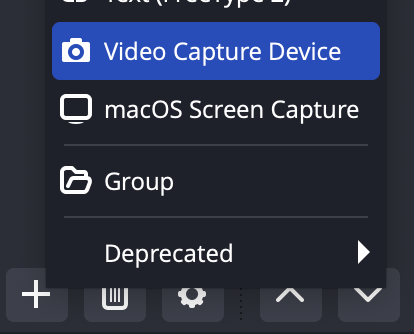
- Click + (plus symbol) at the bottom of the Sources panel and select Video Capture Device
- Enter a name for your webcam and click OK
Video Preview

When using an External Broadcaster, the video preview in the Model Web Broadcaster is disabled by default and will show "LIVE" when broadcasting.
To enable the preview (requires OBS 26+):
- Click Start Virtual Camera in OBS
- Click the Preview button in the ModelWeb Status Bar to view a real-time video feed in the ModelWeb preview panel.
- If a different video device is displayed, click the Cam Settings button to display the video device selection menu.
- Choose OBS Virtual Camera.
Windowed Projector

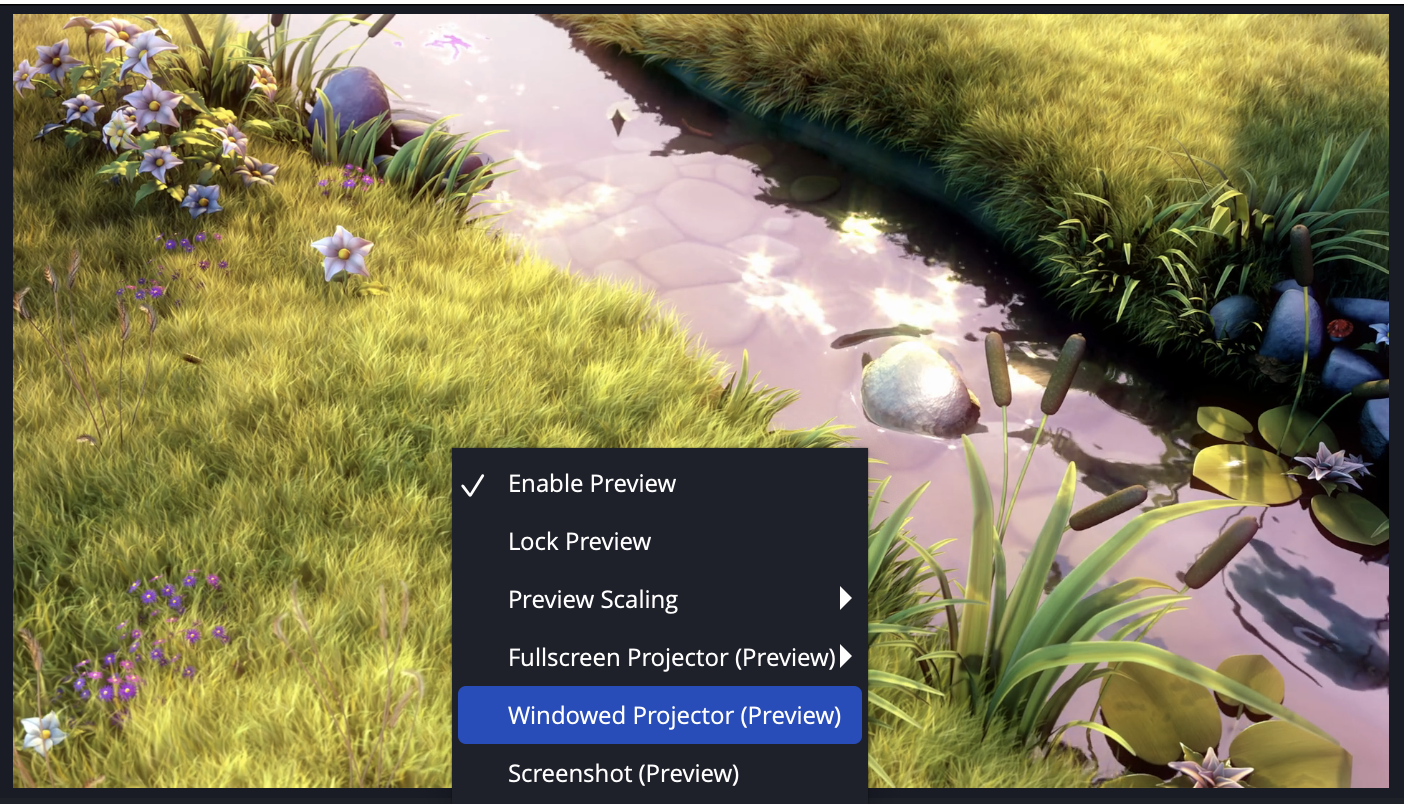
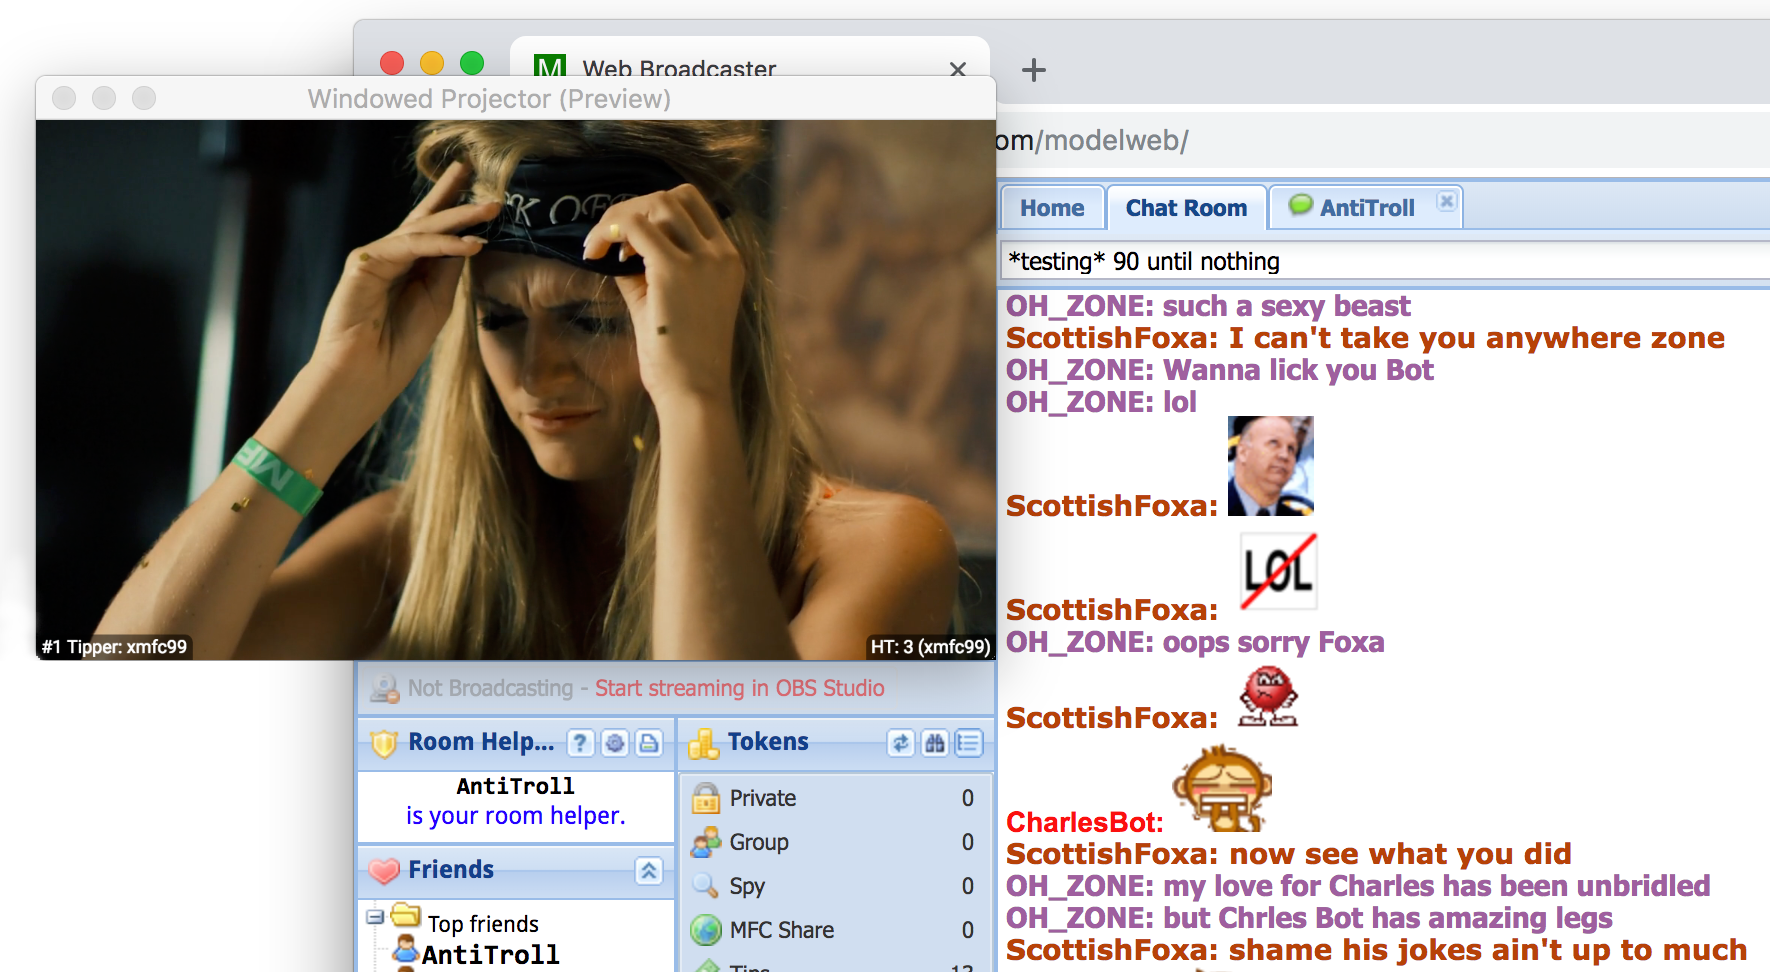
Alternatively, you can use a Windowed Projector:
- In OBS, click Settings and select the General tab. In the Projectors section select Make projectors always on top and Save projectors on exit
- Right click the video preview in OBS and select Windowed Projector (Preview)
- Drag the Windowed Projector to the top left corner of the Model Web Broadcaster (or anywhere) and resize as desired
If using either of these previews, you may experience missed frames due to rendering delays (on less powerful computers). To prevent this:
- Right click the video preview in the main application and select ✓Enable Preview to disable the preview
Plugins
CharlesBot Widgets
- Send a PM to CharlesBot with: !obs
- You may do this by entering the following command in your chat room:
- /pm CharlesBot !obs
MFC Alerts
- Send a PM to mfcalerts with: signup
- You may do this by entering the following command in your chat room:
- /pm mfcalerts signup
Reset Settings
- macOS: OBS Settings Reset App - this will delete ALL OBS settings/profiles/scenes
Requirements
| Minimum | Recommended | |
| Processor | Intel i5 or AMD 6-core | Apple Silicon, Intel i7/i9, or AMD with 8+ cores |
| Internet | 6 Mbps upload bandwidth | 12+ Mbps upload bandwidth |
| Memory | 8 GB RAM | 16+ GB RAM |
| OS | Windows 10 / macOS 10.15 | Windows 11 / macOS 12+ |
| Graphics | DirectX 10.1 / OpenGL 3.3 GPU | DirectX 10.1+ / OpenGL 3.3+ GPU |
A hard-wired Ethernet connection is strongly recommended (rather than WiFi)